
Scalloped sweet potatoes bake into something a little richer than the usual holiday side and a lot more interesting than plain roasted potatoes. The slices soften in the cream until the edges turn silky, then the Gruyere and parmesan finish the dish with a browned top that cracks just enough under the spoon. The maple syrup doesn’t make it dessert-sweet; it just rounds out the sharpness of the cheese and pulls the cinnamon and nutmeg into the background where they belong.
The key is thin, even slices and a baking dish that holds the potatoes in neat overlapping layers. That’s what gives you a tender, spoonable casserole instead of a pan with crunchy top layers and underdone potatoes hiding underneath. Covering the dish for the first part of the bake traps steam so the sweet potatoes cook through before the cheese goes on.
Below, I’ll walk through the one step that keeps the sauce from tasting flat, plus a few variations if you want to lean more savory, make it dairy-free, or get the dish assembled ahead of time.
The sweet potato layers cooked through perfectly and the top got this deep golden crust without the cream splitting. I used a mandoline and it came out tender all the way through, not watery at all.
Save these scalloped sweet potatoes for the nights when you want a creamy, make-ahead side with a golden Gruyere crust.
The Slice Thickness That Decides Everything
Scalloped sweet potatoes live or die by how evenly you slice them. Too thick, and the center stays firm while the top overbrowns. Too thin, and the potatoes collapse into mush before the sauce has a chance to taste rich and layered. Aim for thin, even slices that overlap neatly so the cream can slip between them and cook the whole dish at the same pace.
The other place people run into trouble is with the cheese layer. If you add it too early, the top can scorch before the sweet potatoes are tender. The covered bake gives you that insurance. It steams the potatoes first, then the final uncovered bake sets the crust and lets the Gruyere and parmesan brown instead of disappear into the sauce.
What Each Ingredient Is Actually Doing in This Dish

- Sweet potatoes — These need to be peeled and sliced evenly so they cook at the same rate. Starchy varieties soften beautifully here, and their natural sweetness balances the cheese and thyme. A mandoline helps, but a sharp knife works if you keep the slices as uniform as possible.
- Heavy cream and whole milk — The cream gives the dish its body, while the milk keeps it from feeling heavy or greasy. Don’t swap in low-fat milk if you want the sauce to stay lush; it tends to bake up thin and less cohesive. If you need a lighter version, use half-and-half, but expect a looser texture.
- Gruyere and parmesan — Gruyere melts into the sauce with a nutty, almost buttery finish, and parmesan sharpens the top as it browns. You can use Swiss cheese in a pinch, but the flavor will be milder. Grate the cheese yourself if you can; pre-shredded cheese doesn’t melt as smoothly.
- Maple syrup, thyme, cinnamon, and nutmeg — This is the part that keeps the dish from tasting one-note. The maple warms the cream, thyme keeps the sweetness in check, and the spices add depth without turning the casserole into dessert.
- Butter — Use it to coat the baking dish well. That thin layer prevents sticking and gives the edges a little extra richness where the cream reduces against the pan.
Building the Layers So the Potatoes Cook Through
Season the Cream Before It Hits the Pan
Whisk the cream, milk, garlic, maple syrup, thyme, cinnamon, nutmeg, salt, and pepper together before you layer anything. That’s what spreads the seasoning through every bite instead of leaving the top seasoned and the bottom bland. The garlic should be minced fine so it perfumes the sauce without leaving sharp raw bits behind. If the mixture tastes a little too sweet on the spoon, it’s probably right once it bakes with the potatoes and cheese.
Overlap the Slices with a Little Discipline
Layer the sweet potatoes in overlapping rows so the sauce can move through the dish instead of pooling around loose slices. Press them down lightly as you go, but don’t smash them. You want enough structure that the finished casserole slices cleanly, yet enough open space for the cream to settle in and do its work. Pour the liquid slowly over the top so it reaches down between the layers.
Steam First, Brown Second
Cover the dish tightly with foil for the first bake. That trapped steam is what softens the potatoes all the way through. When the potatoes are tender enough to give easily at the center, take the foil off, add the cheese, and let the top finish uncovered. The surface should turn golden and bubbling, not pale and dusty.
Let It Rest Before You Serve It
The last 10 minutes matter more than people think. Resting lets the cream settle back into the layers so the dish holds together instead of sliding apart on the plate. If you cut into it the second it comes out of the oven, the sauce will look thinner than it really is. Give it time and the texture firms up in the best way.
What to Change When You Want It a Little Different
Dairy-Free Version with the Same Creamy Finish
Use full-fat canned coconut milk in place of the cream and milk, and skip the Gruyere and parmesan in favor of a dairy-free melting cheese. The texture will be a little softer and the flavor will lean sweeter, but the casserole still bakes up rich. Add a bit more salt to keep the sweetness in check.
More Savory, Less Sweet
Cut the maple syrup to 1 tablespoon and add an extra pinch of thyme. That shifts the dish toward a more classic potato gratin feel while keeping the sweet potatoes’ natural flavor in the background. The cheese will stand out more, especially with parmesan on top.
Make-Ahead Assembly
Assemble the dish up to a day ahead, cover it tightly, and refrigerate it before baking. Let it sit on the counter while the oven heats so the glass or ceramic dish isn’t going in ice-cold, and add a few extra minutes to the covered bake if it still feels chilled in the center. The top will brown the same, but the total bake time may stretch a bit.
Storage and Reheating
- Refrigerator: Store leftovers covered for up to 4 days. The sauce will thicken as it chills, and the top will soften, but the flavor deepens overnight.
- Freezer: It freezes, but the cream can separate a little on thawing. Freeze in portions if you want the best texture, then thaw overnight in the refrigerator before reheating.
- Reheating: Warm covered in a 325F oven until heated through, then uncover for the last few minutes so the top wakes back up. The common mistake is blasting it in the microwave, which makes the cream split and the potatoes go gummy.
Answers to the Questions Worth Asking
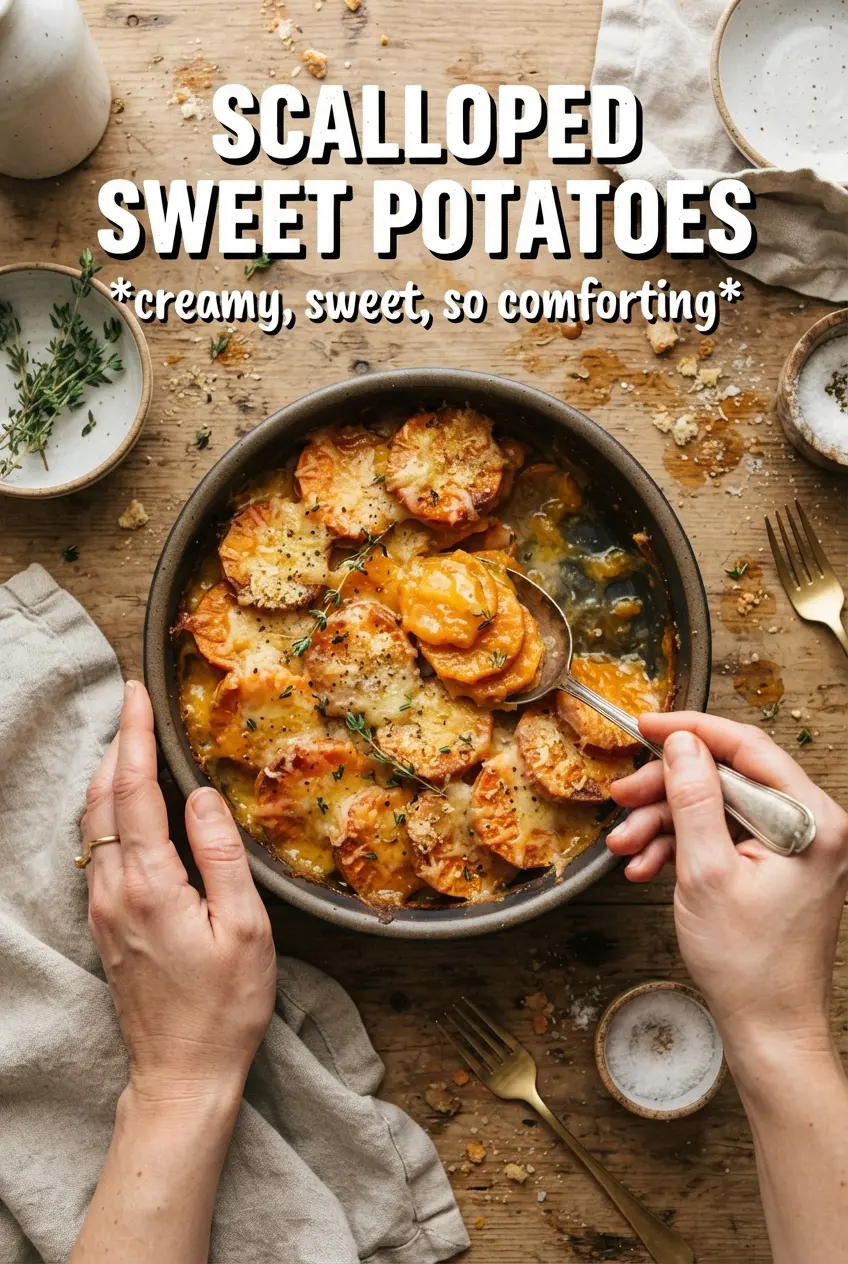
Scalloped Sweet Potatoes
Ingredients
Equipment
Method
- Preheat the oven to 375°F, and butter a 9x13 baking dish with the unsalted butter to prevent sticking.
- Whisk together the heavy cream, whole milk, minced garlic, maple syrup, fresh thyme, cinnamon, nutmeg, salt, and pepper until smooth and evenly combined.
- Layer the sweet potato slices in overlapping rows inside the prepared baking dish, spreading them into an even layer.
- Pour the cream mixture over the sweet potatoes so the liquid reaches the top and settles between the layers.
- Cover tightly with foil, then bake at 375°F for 40 minutes until the slices are beginning to soften.
- Uncover the dish and scatter the shredded Gruyère and grated parmesan over the top.
- Bake uncovered at 375°F for 20 to 25 minutes until the sweet potatoes are completely tender and the topping is golden and bubbly.
- Rest the scalloped sweet potatoes for 10 minutes before serving to help the layers set and the sauce thicken slightly.