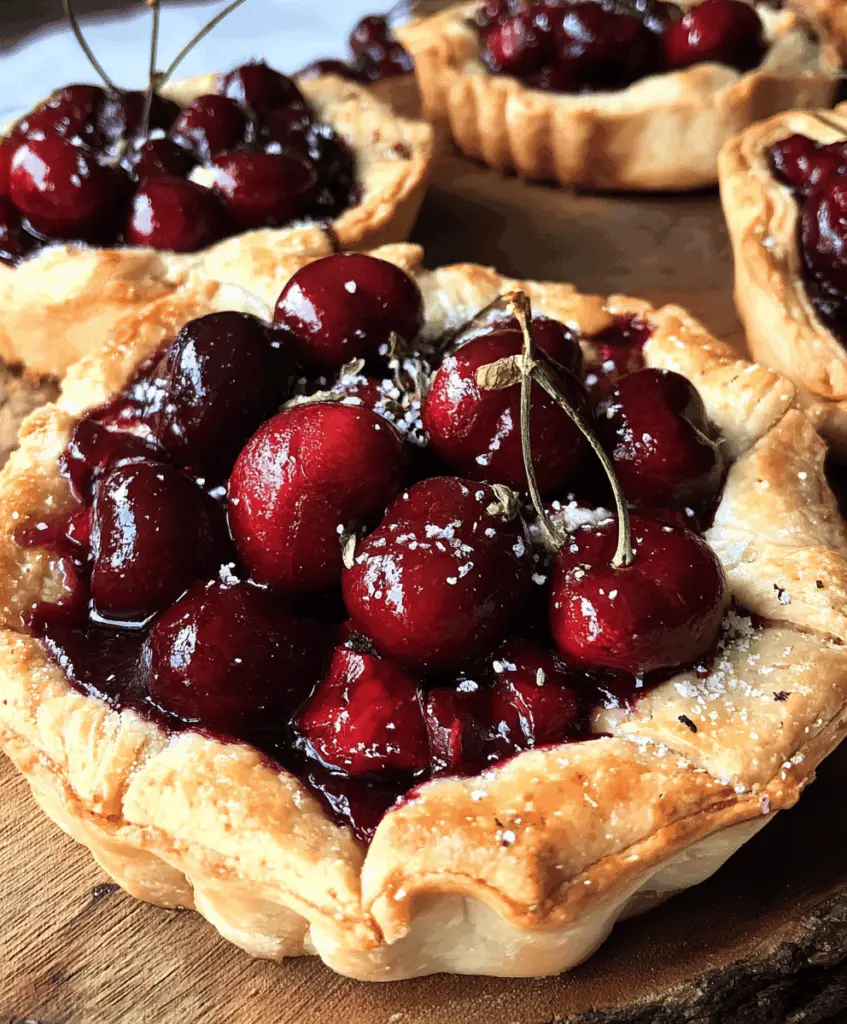
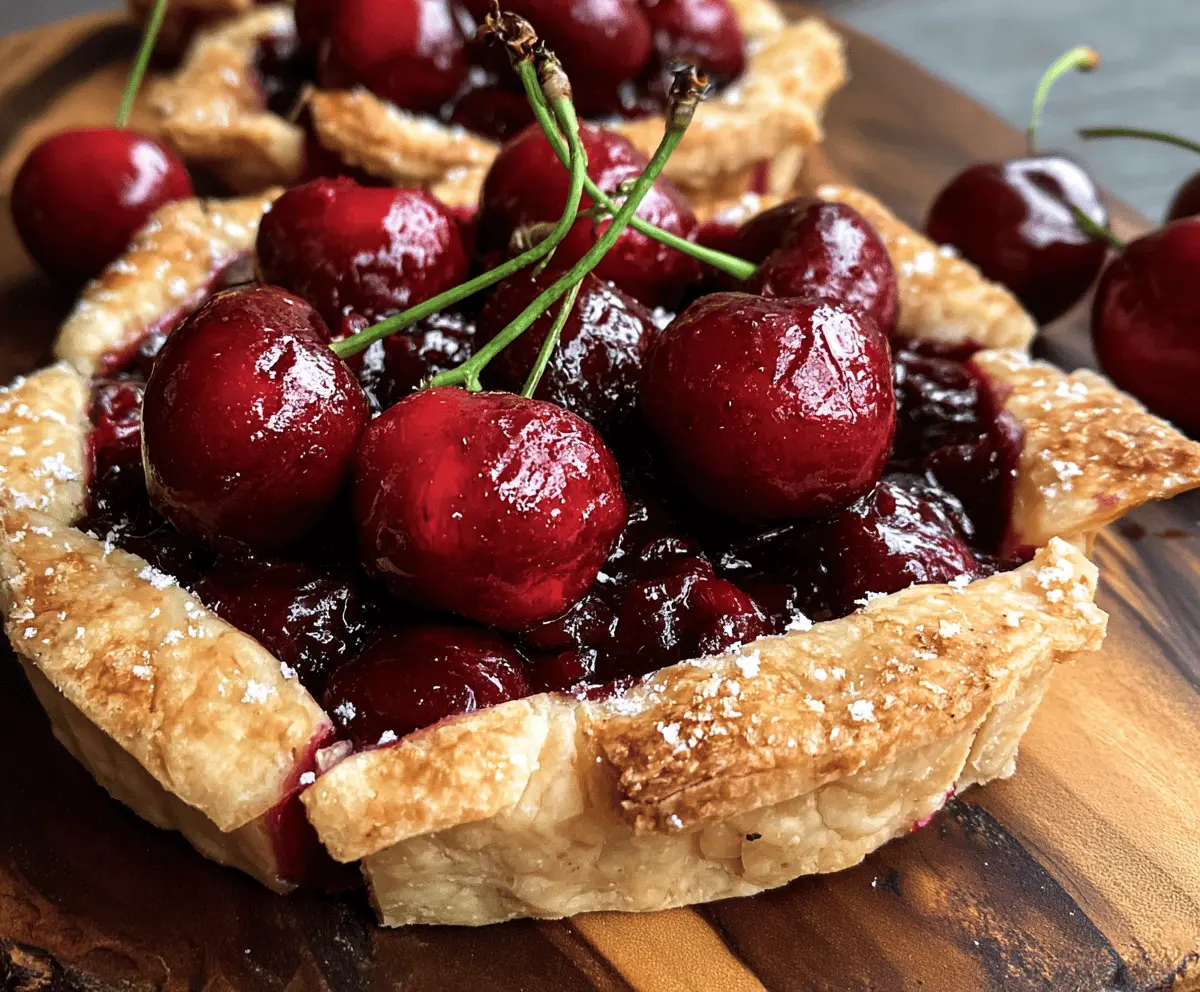
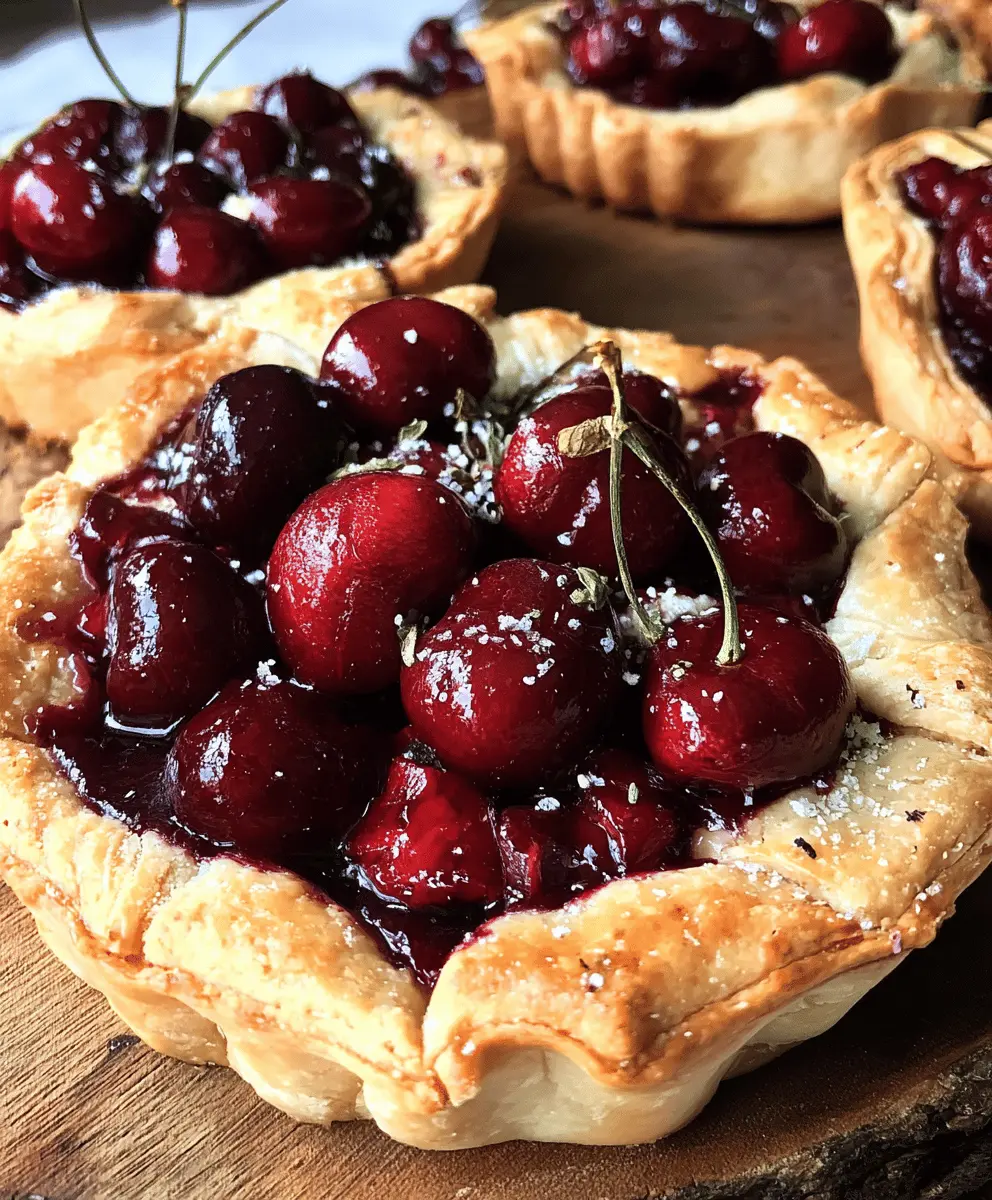
These Easy Rustic Cherry Tarts are a sweet treat bursting with juicy cherries and sitting in a crispy crust. They are simple to make and perfect for sharing with friends or family.
Whenever I bake these tarts, the house smells amazing! Plus, they are great for dessert or as a snack anytime. Just don’t be surprised if they disappear fast! 🍒
Key Ingredients & Substitutions
Pie Crust: Using a refrigerated pie crust makes this recipe super simple. If you prefer homemade, you can easily make your own with flour, butter, and a bit of water. For a gluten-free option, look for ready-to-use gluten-free pie crusts at the store.
Cherries: Fresh pitted cherries give the best flavor, but frozen cherries work just as well. Just be sure to thaw and drain them to avoid a soggy filling. You can substitute with other fruits like blueberries or peaches for a twist!
Sugar: Granulated sugar sweetens the filling. You can replace it with brown sugar for a deeper flavor, or use honey or maple syrup if you prefer natural sweeteners. Keep in mind this may slightly change the consistency.
Cornstarch: This helps thicken your filling and prevent it from becoming too runny. If you’re out, arrowroot powder or flour can serve as alternatives, but cornstarch is generally more effective.
How Do You Ensure Your Tart Has a Flaky Crust?
The key to a flaky crust is working with cold ingredients and not overworking the dough. Here’s how to achieve that perfect texture:
- Keep your butter and pie crust chilled until right before you use them.
- When rolling out the dough, handle it gently and avoid excessive kneading. Aim for a few quick rolls.
- Don’t forget to leave space around the filling when you spoon it into the crust – this helps the crust cook evenly and avoids sogginess.
- Brush the crust edge with egg wash to encourage browning without burning.
By using these tips and substitutions, you’ll create a deliciously rustic cherry tart that everyone will love! Enjoy your baking!
How to Make Easy Rustic Cherry Tarts
Ingredients You’ll Need:
- 1 refrigerated pie crust (9-inch), softened slightly
- 3 cups fresh pitted cherries (or frozen, thawed and drained)
- 1/2 cup granulated sugar
- 2 tablespoons cornstarch
- 1/2 teaspoon vanilla extract
- 1/2 teaspoon lemon juice
- 1 tablespoon unsalted butter, cut into small pieces
- 1 egg, beaten (for egg wash)
- 2 tablespoons coarse sugar (for sprinkling)
Time Needed:
This recipe takes about 15 minutes to prep and 30-35 minutes to bake. Altogether, you’ll have your delicious Rustic Cherry Tart ready in about 50 minutes. Perfect for a quick dessert or a delightful snack!
Step-by-Step Instructions:
1. Preheat the Oven:
Start by preheating your oven to 400°F (200°C). While your oven heats, line a baking sheet with parchment paper to make cleanup easy later on.
2. Prepare the Cherry Filling:
In a medium bowl, mix the pitted cherries with granulated sugar, cornstarch, vanilla extract, and lemon juice. Gently stir everything together until the cherries are well-coated and the mixture starts to thicken a little. This will be your juicy filling!
3. Roll Out the Pie Crust:
On a floured surface, roll the pie crust into a rough 12-inch round shape. Be careful not to press too hard or overwork the dough. Once rolled, transfer it to the lined baking sheet.
4. Assemble the Tart:
Now, spoon the cherry filling into the center of the rolled-out crust, leaving about a 2-inch border all around the edges. This will allow the crust to fold over the filling.
5. Add Butter:
For extra richness, dot the top of the cherry filling with small pieces of unsalted butter. This will help enhance the flavor while baking!
6. Fold the Crust:
Carefully fold the edges of the dough over the filling. You can pleat the dough as you go for a rustic look. The center of the tart should remain exposed so the cherries can peek out!
7. Brush and Sprinkle:
Using a brush, apply the beaten egg around the edges of the crust to give it a nice golden color as it bakes. Then sprinkle coarse sugar over the crust for a sweet, crunchy topping.
8. Bake the Tart:
Place the baking sheet in the preheated oven and bake for 30-35 minutes. You want the crust to turn golden brown and the cherry filling to bubble up nicely.
9. Cool and Serve:
Once done, take the tart out of the oven and let it cool on the baking sheet for about 15 minutes. This helps the filling set a bit more. Slicing it too soon might make a mess!
10. Enjoy!
Serve your rustic cherry tart warm or at room temperature. It’s delightful on its own, but you can add whipped cream or a scoop of vanilla ice cream for an extra treat!
Enjoy your delightful, easy-to-make Rustic Cherry Tart!
FAQ for Easy Rustic Cherry Tarts
Can I Use Frozen Cherries Instead of Fresh?
Absolutely! Frozen cherries work great in this recipe. Just make sure to thaw them completely and drain any excess moisture before using them to prevent a soggy filling.
How Should I Store Leftovers?
Store any leftover cherry tarts in an airtight container in the fridge for up to 3 days. To reheat, simply warm them in the oven at 350°F (175°C) for about 10-15 minutes until warmed through.
Can I Make This Tart Ahead of Time?
Yes! You can prepare the filling and assemble the tart in advance, then cover and refrigerate it for a few hours before baking. This is great for saving time when entertaining!
What If My Tart Filling is Too Runny?
If your filling seems too runny, you can cook it on the stovetop for a few minutes to help it thicken. Alternatively, you can add a little more cornstarch to the cherry mixture before baking. Just ensure to mix it well!
These tips will help ensure your Easy Rustic Cherry Tarts turn out perfectly delicious every time!